X
Our staff will contact you within 12 hours, You can also contact us through the following ways:
Contact US WhatsApp: +8618766656705
- Email: [email protected]
- Tel: +8618766656705
- Web: https://www.toponechain.com/

A manual chain hoist lifts reliably in shops, yards, and towers because operators control every millimeter of travel. Yet the hoist only stays safe when you size the load chain correctly, match hooks and trolleys, set headroom, and log routine inspections. This guide explains the standards that govern manual hoists, shows how to read nameplates, and gives clear tables you can carry to the beam. Use it to commission new units, audit old ones, and train crews without guesswork.
Use recognized codes and the manufacturer’s manual together:
EN 13157 (Europe): safety requirements for hand-powered lifting equipment, including static/dynamic testing and marking.
ASME B30.16 (U.S.): covers construction, installation, inspection, testing, and operation of overhead hoists (underhung).
EN 818 / NACM chain specs: govern round-link Grade 80/100 load chains used in hoists.
Read the hoist’s declaration/certificate and confirm it cites one of these. If the plate lacks WLL, lift height, serial number, and standard reference, remove the hoist from service until you verify documentation.
Check these items on the plate and in the manual:
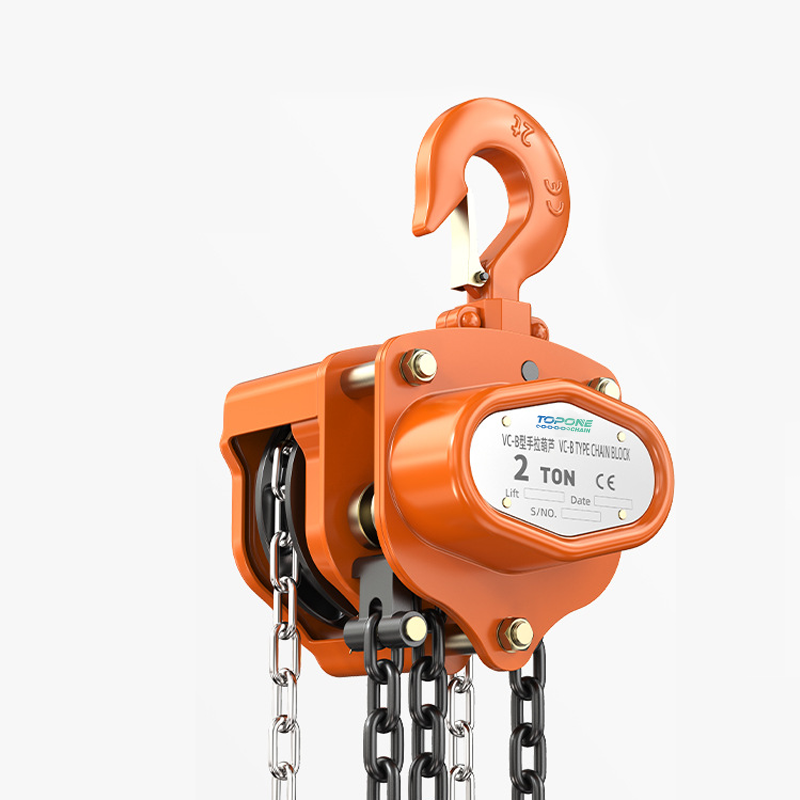
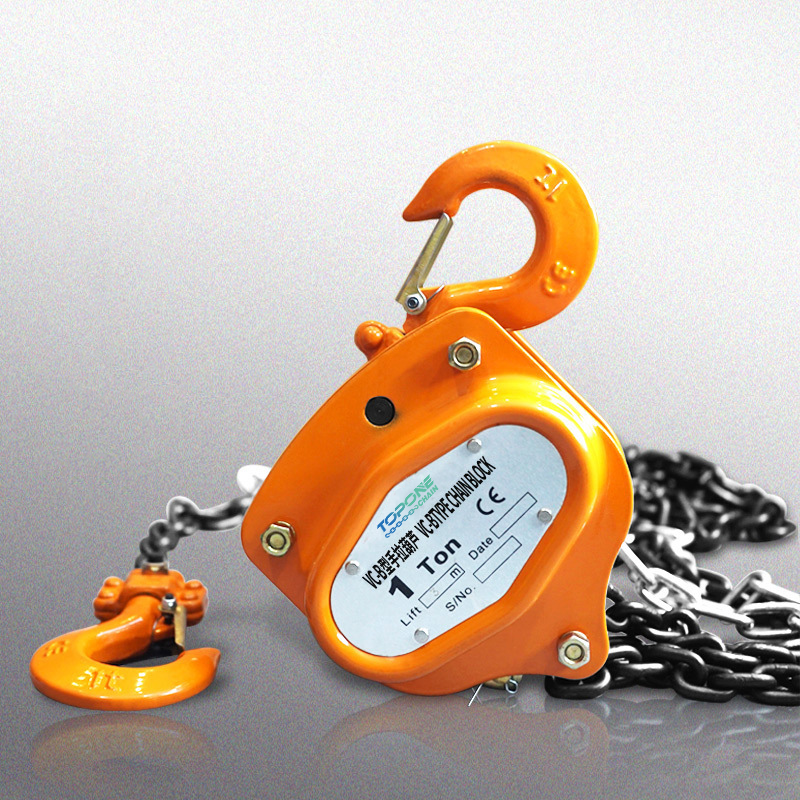
WLL (Rated Capacity): e.g., 0.5 t, 1 t, 3 t, 5 t
Lift (H): total hook travel (e.g., 3 m, 6 m, 10 m)
Falls of load chain: single-fall or two-fall
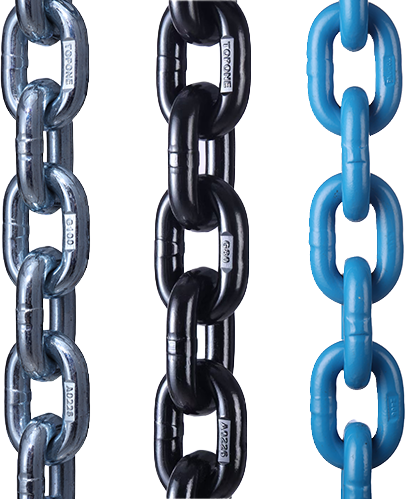
Load chain grade & diameter: G80 or G100, with stamped size (e.g., 8 mm, 10 mm)
Serial number & year
Test statement: load/proof testing per EN 13157 or ASME B30.16
A compliant hoist stamps the chain at regular intervals with the grade mark (e.g., “8” or “G80”) and the maker ID.
Match the chain, hooks, and support hardware as one system.
Quick sizing rules (typical practice):
Hook throat opening ≥ 4 × chain diameter so links feed freely.
Master/suspension link inside width ≥ 5 × chain diameter to clear the crane hook and latch.
Bend radius at the pocket wheel should respect the hoist’s link pitch; do not retrofit larger chain into a wheel cut for smaller links.
Example configuration snapshot (reference only; confirm with your OEM):
Rated Capacity | Falls | Chain Grade | Chain Ø (mm) | Pitch (mm) | Notes |
1 t | 1 | G80 | 6 | 18 | Light fabrication, single fall |
2 t | 1 | G80 | 8 | 24 | General shop lifts |
3 t | 2 | G80 | 8 | 24 | Two-fall increases mechanical advantage |
5 t | 2 | G80 | 10 | 30 | Heavy maintenance, longer lift common |
Always verify the exact chain size and number of falls on the unit in hand.
Follow a simple sequence every time:
1. Survey the beam. Measure flange width and thickness; select a push or geared trolley that fits the range.
2. Set headroom. Confirm the Hmin (distance top-hook saddle to bottom-hook saddle when fully raised) clears your work.
3. Mount the suspension. Center the trolley or top hook over the load path; lock trolley wheel spacing as specified.
4. Thread the hand chain. Ensure the loop hangs free and reaches chest height for the operator—no stools, no stooping.
5. Check running direction. Pull hand chain both ways; the load hook must rise and lower smoothly.
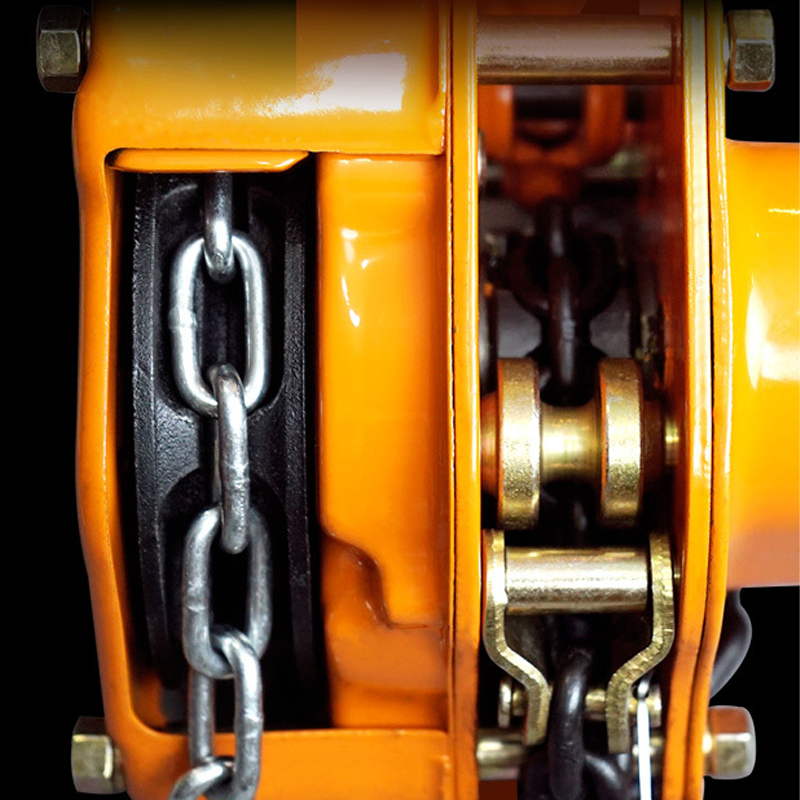
Most manual chain hoists use a Weston-type mechanical load brake with ratchet plates, friction discs, and dual pawls. Some models include a torque-limiting overload clutch that slips before parts deform. Test brake holding ability with a controlled test load and follow the proof/load-test procedure required by your governing standard and the OEM.
Run this checklist before the first lift:
7. Nameplate & tags: WLL, lift, serial, and inspection sticker present and legible.
8. Load chain: straight, clean, and evenly lubricated; no twist, nicks, or peening.
9. Pitch & crown: measure five links; new chain should match nominal dimensions; scrap if elongation grows beyond the limit in the manual.
10. Hooks: latch closes under spring force; throat shows no spread or cracks.
11. Hand chain travel: pull up and down; idler and guides run freely without snag or jump.
12. Brake function: lift a small load a few centimeters and release the hand chain; the hook should hold without creep.
Document the check in your rigging log.
Schedule work to match duty cycles and environment:
Clean and relube the load chain with compatible oil at the interval in the manual (more often in dusty or wet plants).
Open and inspect the brake pack on the OEM’s schedule; replace friction discs that show glazing or thickness below the limit; renew pawl springs that feel weak.
Inspect the pocket wheel for rounding or chipping at the link seats; replace the wheel if chain no longer nests fully.
Check bearings and gears for smooth rotation and correct backlash; use only the specified grease.
Load/Proof test per EN 13157 or ASME B30.16 after major service or at the required interval; record the result with the unit’s serial number.
Choose the load chain and hook materials for the job site:
Environment | Recommended Chain/Hardware | Why It Works |
General indoor | G80 alloy, black-oxide/phosphate | Strong, simple upkeep |
Coastal/outdoor | G80 zinc-nickel coated | Better rust resistance; easier cleaning |
Food/chemical/wash-down | Stainless (304/316) chain & hooks | Hygiene and corrosion control |
Hot work zones | G80 alloy with proper derating | Resists sparks and heat (observe temp limits) |
Always follow the manufacturer’s temperature and chemical exposure limits.
Symptom | Likely Cause | Action |
Load creeps down | Worn or glazed brake discs; weak pawl spring | Replace discs and springs; re-assemble per spec |
Hard hand-pull | Over-tight brake; clogged chain guide; seized bearings | Reset brake torque; clean guide; replace bearings |
Chain jumps in wheel | Worn pocket wheel or elongated chain | Replace wheel and chain together |
Latch fails to close | Bent latch or damaged spring | Replace latch; check hook throat for spread |
Noisy gear train | Dry gears or incorrect grease | Clean and grease with OEM-specified lubricant |
Keep a binder or digital log with:
Commissioning report and standard cited
Routine inspection checklists
Service and parts replacement notes (with batch/heat where available)
Proof/load-test certificates tied to the serial number
Clear records shorten downtime during safety audits and incident reviews.
Choose a manual chain hoist that cites the right standard, verify the chain grade and geometry, install it square to the load, and run daily and periodic inspections with numbers—not guesses—and you will keep every lift predictable and compliant; contact TOPONE CHAIN today for certified manual chain hoists and the documentation your site requires.
Understanding DIN 766 Chain Specifications: A Comprehensive Guide for Industrial Applications
Chain Grades & Markings — Understanding the Strength Behind the Numbers
Stainless vs. Carbon Steel Chains: Key Differences
What are the Differences Between Types of Shackles?
2 Ton & 3 Ton Chain Block: Load Limits, Specs & Industrial Uses