X
Our staff will contact you within 12 hours, You can also contact us through the following ways:
Contact US WhatsApp: +8618766656705
- Email: [email protected]
- Tel: +8618766656705
- Web: https://www.toponechain.com/

Offshore crews trust three fittings every day: the anchor bow shackle that tolerates changing angles, the chain link swivel that kills twist, and the chain stud link that builds the backbone of mooring or anchor cable. You need each part to match a standard, a stamped rating, and a real use case, not guesswork. This guide explains what each item does on deck, which markings matter, how you size them, and how you inspect them before a lift or a pay-out, so your rig runs clean from the hook to the seabed.
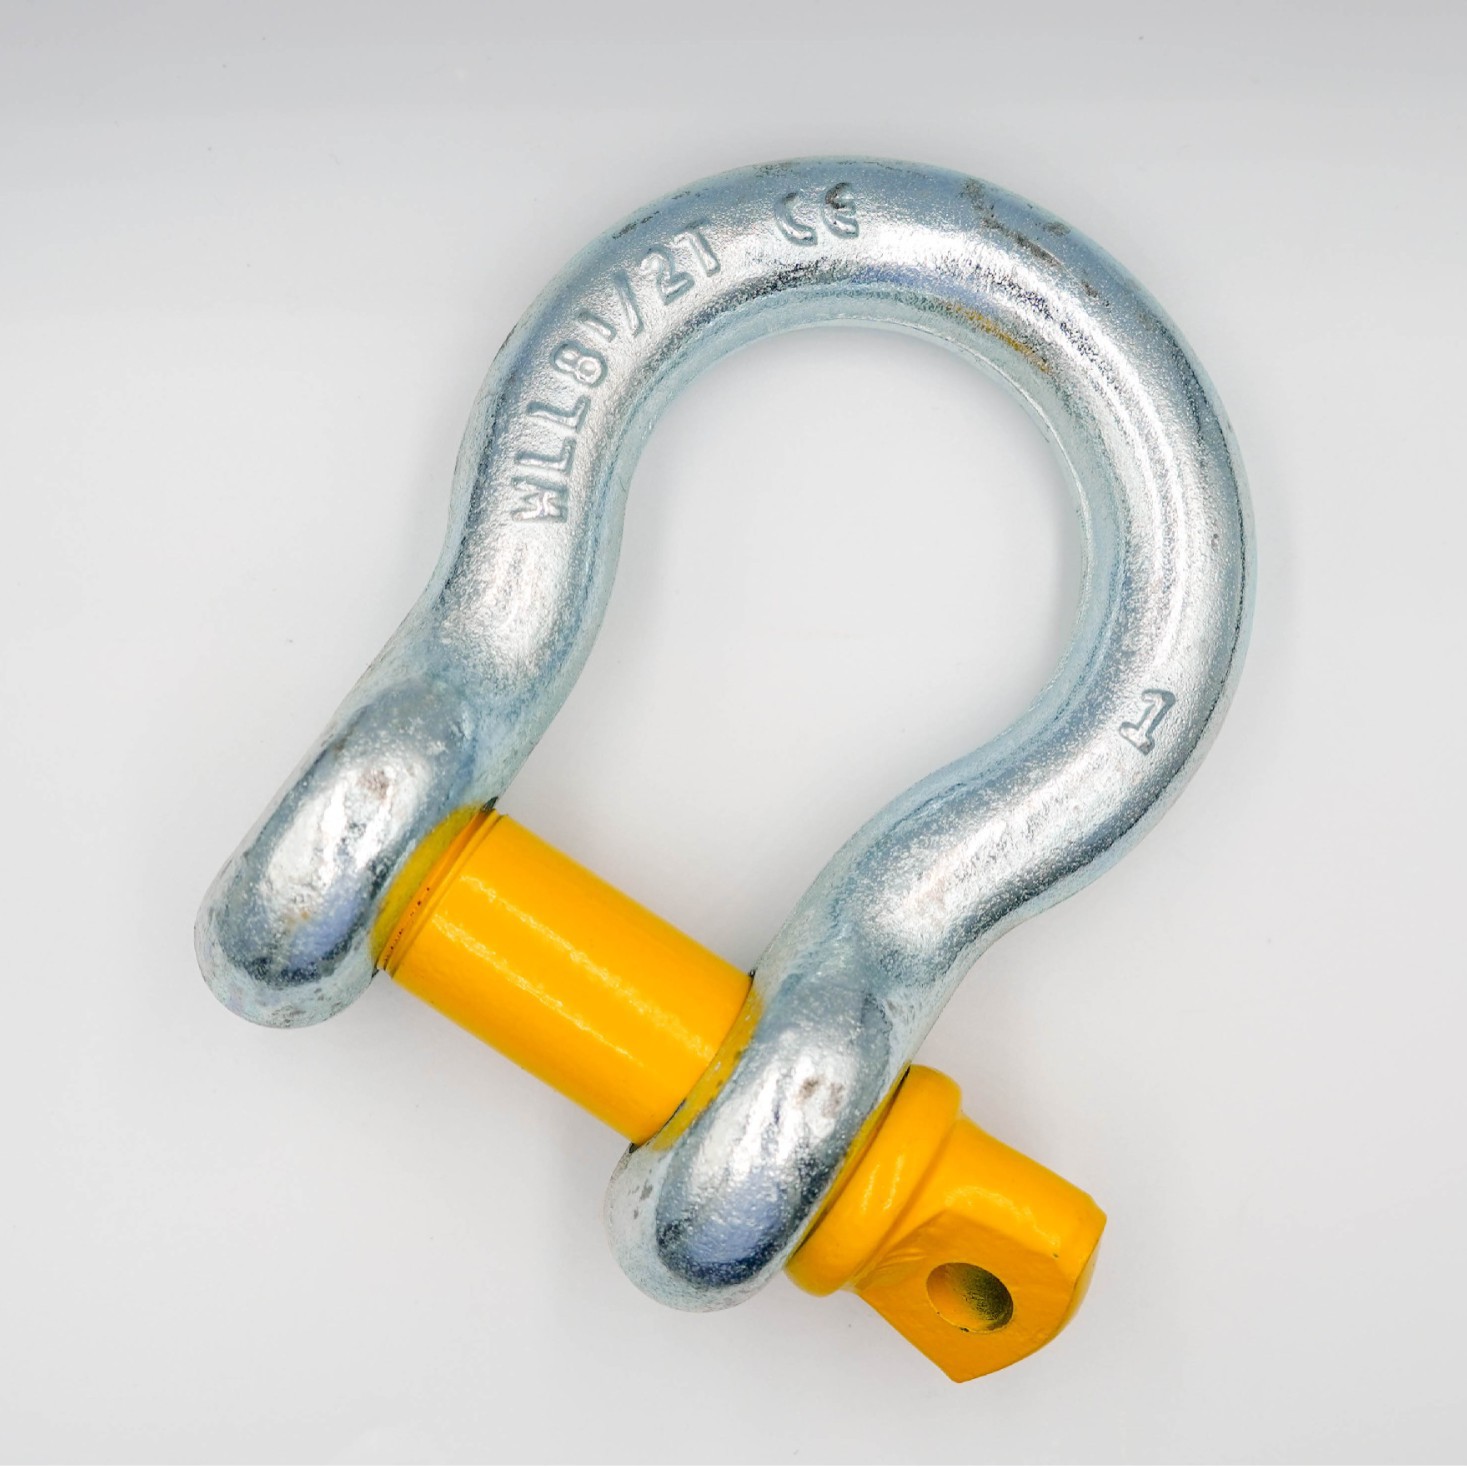
Riggers pick a bow (anchor) shackle when slings or pennants change direction under load. The wide crown accepts multi-leg sling spread, while the pin stays in line with the hardware. You verify compliance by reading the crown:
Markings to confirm: WLL (Working Load Limit), size, maker’s ID, and a code that ties to a batch or heat.
Common standards to cite: EN 13889 or ASME B30.26 for forged shackles; both require traceable markings.
Use on deck: connect master links, bridle legs, or chafed soft slings; keep the bow toward the sling legs and run the pin through the hardware to reduce pin bending.
You tighten a screw-pin by hand with a quarter-turn; you secure a bolt-type with nut and cotter for long-term or vibration-heavy service.
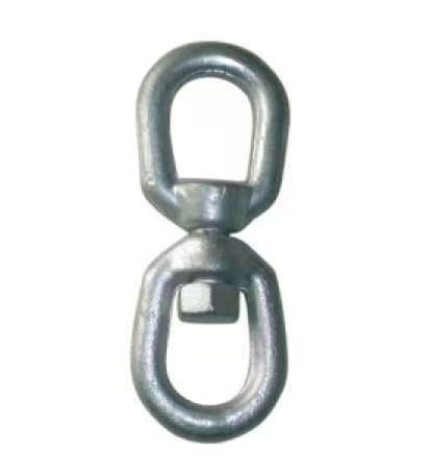
Loads rotate during recovery, buoy work, or tug assists. A chain link swivel lets the chain and hook rotate without winding up the line, so crew hands avoid dangerous kickback:
Markings to confirm: WLL, maker’s ID, and direction of load path.
Build features to check: sealed thrust bearing, full-diameter body without sharp undercuts, and a pin or jaw that fits the chain link without point loading.
Use on deck: position the swivel between hook and chain when the job may spin; keep the rotation smooth by rinsing grit, then rotate the body by hand under light tension to confirm free movement.
You never side-load a swivel; keep the force in line with its axis.
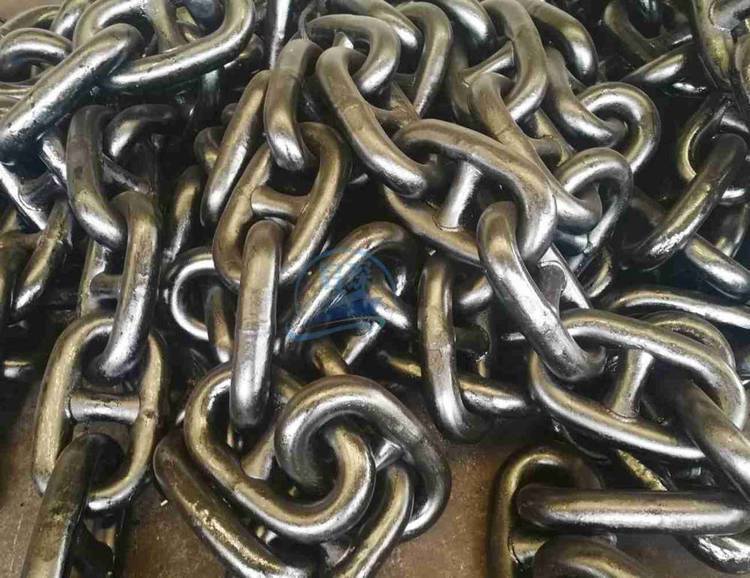
Vessels rely on chain stud link sections for anchor and mooring cables. The stud (the cross bar) prevents deformation, controls wear, and reduces knotting during stowage:
Markings to confirm: caliber (diameter), maker’s ID, and heat/batch code along the crown.
Common standards to cite: ISO 1704 for ship stud-link chain dimensions; classification rules (e.g., DNV) for proof and break tests.
Use on deck: pair stud links with Kenter joining shackles or end shackles; check that the pocket wheel (gypsy) matches the link pitch and diameter.
Stud-link sections run truer in windlass pockets and resist ovalization during heavy surge.
Item | Primary Job | Typical Standards | Key Markings | Geometry Notes | Common Uses |
Anchor bow shackle | Connect slings at changing angles | EN 13889, ASME B30.26 | WLL, size, maker, trace code | Bow toward legs; pin through hardware | Multi-leg bridle, spreader pick |
Chain link swivel | Allow rotation under tension | Maker data + lifting code on WLL | WLL, maker, load axis arrow | In-line only; no side load | Hook-to-chain interface, buoy work |
Chain stud link | Build anchor/mooring cable | ISO 1704; class rules for tests | Caliber, maker, heat/batch | Stud prevents kinking and ovalization | Windlass cable, mooring stingers |
Use the table as your pre-rig checklist when you stand at the chain locker or the crane rail.
You size the system, not just one part:
Pin-to-link fit: choose a shackle pin that fills most of the chain link without forcing; you avoid point loads and notch stresses.
Bow clearance: ensure the bow inside diameter clears the master link or connector freely; tight bows trap rotation and score the surface.
Swivel match: keep the swivel jaw or eye the same rating as the chain leg; verify the WLL on both bodies before you clip anything together.
Stud-link pitch: match windlass pockets to ISO 1704 pitch for the chosen caliber; a wrong pocket mis-seats the link and scuffs crowns rapidly.
When in doubt, measure and record, then compare to the maker’s data sheet rather than guessing.
Walk through the same checklist every time, whether you prepare for a lift or you recover an anchor:
Clean: rinse salt and grit; wipe dry so you see cracks and scoring.
Read all stamps: WLL, size, maker’s ID, and any trace code; record them in the job card.
Check geometry:
Bow shackles—no crown flattening; pin threads clean; cotter intact on bolt-type.
Chain link swivels—spin the body by hand; feel for gritty or seized bearings.
Chain stud links—look for crown wear or cracks near the stud weld; measure link length over several pitches to catch uneven stretch.
Gauge wear: retire parts that exceed the maker’s wear limits (commonly 10 % crown wear on chain links; follow the exact product spec).
Function test: lift a small test load, rotate the rig through expected motion, then re-inspect before main load.
Log all findings in your rigging register with date, location, and serial or heat numbers.
Riggers connect a master link to an anchor bow shackle when they expect the included angle to shift during lift. The bow keeps legs free to move while the pin stays straight in the hardware. You check leg angle with an inclinometer and hold near 60° to control tension.
Blades, buoys, or pre-hung modules often want to spin. You insert a chain link swivel between hook and chain, then let it rotate under load so slings stay flat and hooks stay latched. You verify free spin before you pick.
Anchor cables use chain stud link lengths because the stud guides each link across the pocket wheel and prevents twists that jam the gypsy. You match the link pitch to the pocket and confirm class-approved proof records in the ship file.
Do keep shackles and swivels at the same or higher WLL as the connected chain leg.
Do align load in line with each body; use bow shackles for side-to-side leg movement.
Do keep pins hand-tight plus cotter on bolt-types; re-check after vibration or long tows.
Don’t side-load a swivel or bend a shackle pin with off-axis pulls.
Don’t run stud-link chain over a pocket wheel that does not match ISO pitch.
Don’t accept unreadable markings; replace or re-tag before work.
Conclusion
Select the anchor bow shackle for angle freedom, install the chain link swivel wherever rotation threatens your rig, and build or inspect the chain stud link cable to the correct pitch and markings, and your deck team will lift, tow, and anchor with confidence—contact TOPONE CHAIN today for certified shackles, swivels, and stud-link chain with full traceability.
Understanding DIN 766 Chain Specifications: A Comprehensive Guide for Industrial Applications
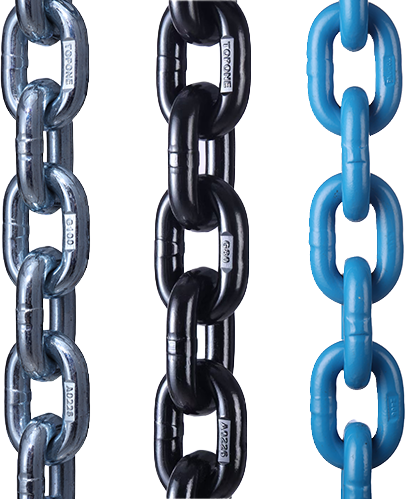
Chain Grades & Markings — Understanding the Strength Behind the Numbers
2 Ton & 3 Ton Chain Block: Load Limits, Specs & Industrial Uses
Stainless vs. Carbon Steel Chains: Key Differences
What are the Differences Between Types of Shackles?
How to Use Lifting Chains Safely and Correctly
Lifting chains: What are the differences between different lifting chains?
Grade 80 Stainless Chains: Rust-Proof Strength or Hype?
Adjustable Chain Sling | Adjustable Lifting Chains & Adjust-A-Link Slings
Chain Sling Manual: Parts, Configurations & Safety